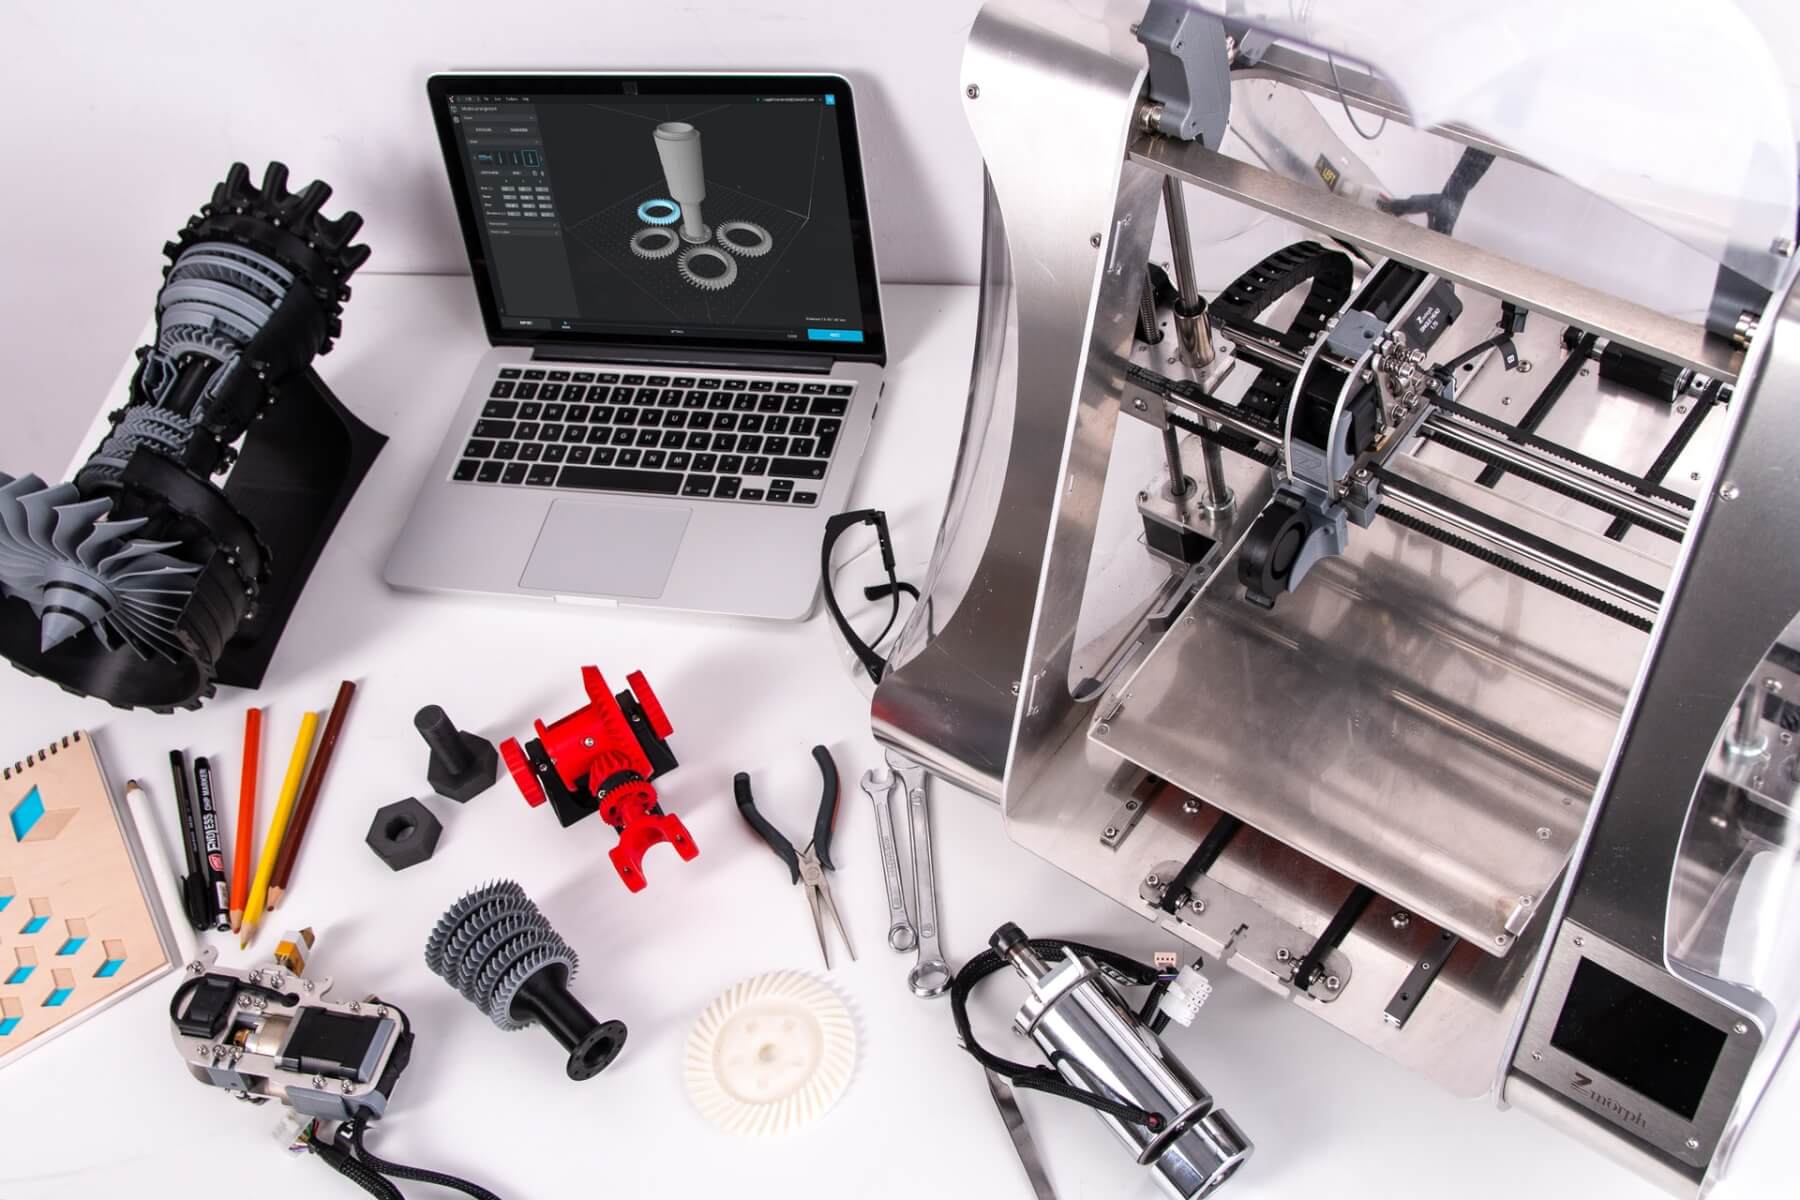
3D printing has pushed the limits of human imagination since the introduction of the technology. In a few short years, 3D printers advanced tremendously, and right now, the user is pushing the limits of what these machines can do. Even if we are speaking of a mid-range 3D printer, with the right knowledge and determination, some users made usually expensive items, cheap and at home. The freedom that a 3D printer offers, coupled with human imagination and curiosity, resulted in some astonishing DIY projects.
As kids, most children try to see how everything works and functions. As adults, with the aid of 3D printers, we can make it work for us. Creating something from scratch, at home, is one of the most exhilarating feelings that you can get. The sense of accomplishment that you get is equal to none. Euphorically we start setting up the printing table, pick up the right filaments, and plan the project carefully, like a real pro.
When you make something yourself, especially if that something is an expensive gadget, it is the sure way to save some money. You should notice we said money, not time. That’s because, if you undertake a project from this list, you will need some soldering experience and some time to figure out what goes where and why. Other than that, these are simple projects that include a small single-board computer, some wires to be soldered on, and a lot of 3D printing.
Chronio, a low power Arduino based (smart)watch developed by Max.K
On a scale from one to ten, this project is a four. You don’t need much experience with this one, but you will need some soldering skills. Developed with the Pebble Time in mind, the Chronio is an Arduino-based 3D-printed Watch that consists of a few elements. One of them is 3D printed, the others you can order online for cheap.
The Chronio runs on a 160mAh button cell that offers a six to seven months charge time and does not include WiFi and BLE functionality. You will need to purchase an always-on 96×96 pixel Sharp Memory LCD that, with the provided software, can play a simplified version of Flappy Bird on it.
All the files required for the 3D printing of the cage can be found in the project and, depending on what filament you use, you can end up with a snazzy looking case if you mix and match the materials. Considering the design fits any 22mm watchband, with the right tools and 3D printer, a bit of imagination, it can be a sight to behold. There are some drawbacks, the lack of some connectivity and screen protection. But the Chronio has a thickness of only 10.8mm, which is thinner than the Apple Watch. And all you need to make one is an Atmega328p with Arduino bootloader microcontroller, a pixel Sharp Memory LCD, a CR2025 160mAh coin cell, and an RTC Maxim DS3231.
Open Thermal Type-C Camera for Mobile developed by TheMarpe
The Open Thermal Camera (OTC) represents an opensource, inexpensive, hackable, mobile thermal camera for use in electronics, home inspection, non-contact thermometer, heat distribution, and much more. Based on an MLX90640 sensor, the OTC provides a 32×24 pixel resolution, and on a scale from one to ten, this project is an eight.

The OTC comes with an Android App, and two hardware revisions, one with a Type-C connector and another with a reversible MicroUSB connector. Depending on your needs, and what type of connector your device has, you can get all the documentation and download links on GitHub.
Pi Microscope developed by BraunsCNC
Running on a Raspberry Pi Zero W and requiring a minimal 3D printing, the Pi Microscope is possibly the most inexpensive way to acquire a microscope today. The low-cost digital microscope can output a video signal via an HDMI cable, capture 1920×1080@30fps clips, and the design can be modified to mount different lenses. BraunsCNC said that, although he used aluminum for the base plate and rotary knob, those could also be 3D printed like the rest of the parts.
The project is not that daunting, and on a scale from one to then, this is five, if you don’t get stuck in shipment hell. And on the construction front, the Pi Microscope doesn’t look like you need a team of highly trained engineers to assemble it. Depending on the lens and what you want your new microscope to do, this project can cut costs and turn out to be fun for the family.
Servos Quadruped Robot developed by miguel_ayuso
This DIY project is not complicated at all if you know your way around a soldering iron. To note, the Servos Quadruped Robot needs some special attention in the 3D printing sector since most of the exoskeleton requires to be printed, to house the electronics and servos. Printing and assembling a self-propelled quadruped robot is no easy task, and this project proves that.
The robot has no more than four servo motors in each leg, a Raspberry Pi 4 as the brain, an Arduino Mega for reading/writing of signals, and MPU6050 IMU. And if the project schematic is any indication, building this bot will require some patience and time. The last update on the project was made in May 2020, as the creator is performing adjustments to the hardware and software. Considering this project is under development, and you need a lot of parts to get it off the ground, you might want to check one of the projects above before you start with this level ten bot build.
LittleArm: 3D Printed Arduino Robot Arm by Slantconcepts
This garage Arduino project by Slant founder Gabe Bentz, called LittleArm, is the perfect middle ground for those who want to build intrigued devices. Based on the idea that there are no good and affordable Arduino robot arms out there, Gabe Bentz made a prototype with his 3D printer. Seeing the final product getting some traction, and requests for a kit kept coming in, Gabe decided to hand over the project to Slant Technologies, which made this level eight project, available to the public.
The LittleArm offers three options to chose from, depending on your skill level, not on your 3D printer. The most complex piece you need to print, is 7.5 inches long, and considering time, it might take you hours to compose all the parts. As the creator said, the LittleArm is a perfect miniature analog for large industrial robot arms. And after a highly successful Kickstarter, the LittleArm Arduino robot arm is now available. Also, the CAD files and code can be downloaded to build your own.
If you know some more fun and amazing 3D projects, sound off in the comment section below.
Follow TechTheLead on Google News to get the news first.


